
VMware ESXi Installation and Setup
- Apr 30, 2022
- 2 min read
First of all check your physical box if supported through VMware Hardware Compatibility Guide https://www.vmware.com/resources/compatibility/search.php

What is VMware ESXi Server?
- VMware ESXi server is a baremetal hypervisor (without running an operating system) that can run Virtual Machines.
Note: You need to download the Custom ISO based in your Physical server vendor provider ( Cisco UCS/HP/DELL )
Download ESXi installer from Evaluate VMware Products Site https://www.vmware.com/try-vmware.html ( In this scenario, a free trial is downloaded which can be used for 60 days before getting expired ) or https://customerconnect.vmware.com/downloads/details?downloadGroup=ESXI700&productId=974&rPId=45006

Steps to Install ESXi server 7.x
- Boot the downloaded image file and choose the standard installer

- let the ESXi installer load
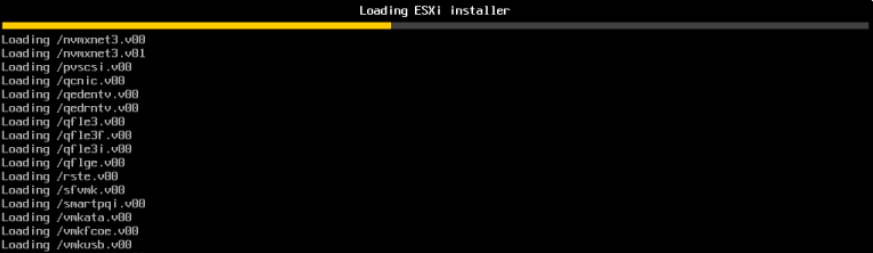

- Press enter key to continue the ESXi 7.0 installation

- Accept the End User License Agreement to continue Press F11

- Choose the hard disk to install ESXi server 7.0 and press Enter key to Continue

- Enter a root password and confirm > Press Enter to Continue

- Press F11 key to confirm the ESXi server 7.0 installation

- Wait couple of minutes until the ESXi server 7.0 installation finish

- Press Enter key to reboot after the installation

The ESXi server can be configured using function keys
- 192.168.119.XXX – IP address given to manage the ESXi server
- <F2> Customize System/ View logs
- <F12> Shutdown /Restart

- Press F2 key and enter the previously given root password to continue the ESXi Setup

- Configure the Management Network

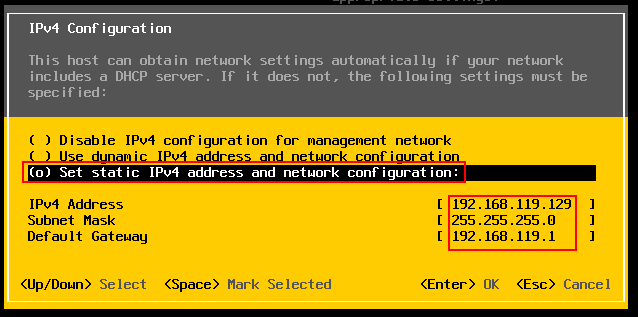
- Select the IPv4 configuration to change the IP address and Set to Static
- Give value to the IP address/Subnet Mask/Default Gateway
- To change the Hostname select the DNS configuration in the Configure Management Network menu. Privide the DNS and Hostname value

- Now set the Custom DNS Suffixes

- Press Esc and Press ‘Y’ apply all the changes ( Note: ESXi reboot is required )

- After the ESXi reboot you can verify the ESXi installation and setup by logging-in to the WebClient > Access the ESXi through https://192.168.119.129/ui

- Now ESXi Installation and Setup is completed


Comments