
Configure NFS Server on Windows Server 2019
- May 23, 2022
- 1 min read
In my Lab I use NFS for Datastore.
Here I will show how to setup and configure.
Steps:
- Open the Server Manager
- Click Add Roles and Features Wizard

- In the Select Installation type page, select Role-based or feature-based-installation and click Next

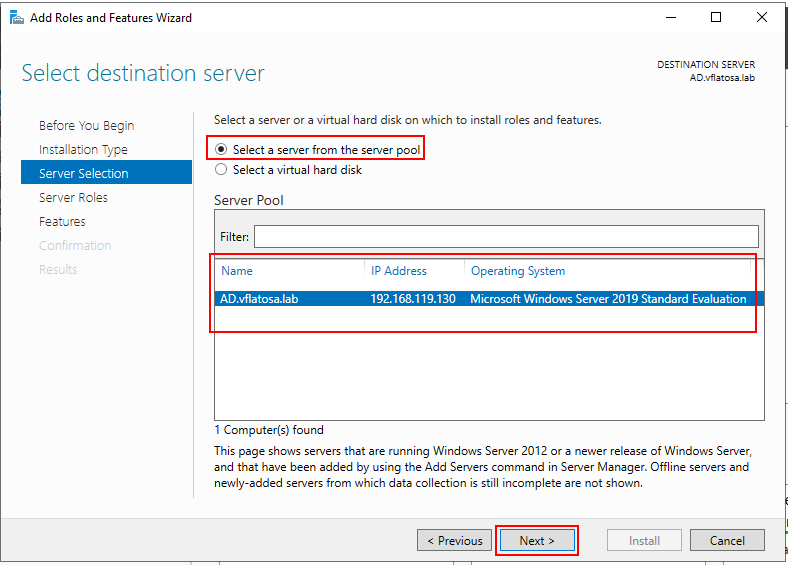
- Select the server you will install NFS on and click Next
- Select server roles part, expand File and Storage Services and further expand File and iSCSI Services then check the box against Server for NFS. A pop-up window will come forth

- In the pop-up window, just click on Add Features then hit Next


- In this Select features page, simply click on Next
- Confirm your installation selections and hit Install

- Wait to finish the installation

- Click Close

- Configure NFS Share Folder
- Open Server Manager then click File and Storage Services

- Select Shares > Tasks > New Share

- Select your preferred profile then click Next ( In my example I choose NFS Share-Quick )

- On this page, choose Type a custom path, browse for your directory and click Next

- Name your Share and click Next

- Specify authentication methods click Next

- Choose Hosts to Access the Share ( In my case I choose All Machine )
- Permission should be Read/Write and click Add


- You can tweak the permissions to befit your scenario here. Once done, click Next

- Confirm your selections and click Create

- Once Completed click Close

- To verify, Go back to Server Manager > File and Storage Services > Shares

- All Done, Next steps add NFS to your ESXi make it as Datastore


Comments