
How to Install VCSA 7 in VMware Workstation 16 Pro Step by Step
- May 16, 2022
- 2 min read
We will Install and setup VCSA 7.x in the VMware Workstation 16 Pro
Requirements:
- Download VCSA ISO https://customerconnect.vmware.com/en/downloads/info/slug/datacenter_cloud_infrastructure/vmware_vsphere/7_0
- Download VMware Workstation https://www.vmware.com/products/workstation-pro/workstation-pro-evaluation.html
- VCSA System Requirements https://docs.vmware.com/en/VMware-vSphere/7.0/com.vmware.vcenter.install.doc/GUID-752FCA83-1A9B-499E-9C65-D5625351C0B5.html
- DNS A Record
- Set Static IP and Make sure VM connected to the network once imported
Steps:
- Create DNS A Record first. Login to AD and Open DNS Management Console
- In Forward Lookup Zones > Right Click domain and Select New Host A Record

- Fill-up the Server Name and IP Address, make sure PTR record is ticked to create the Reverse Lookup Zones Record
- Then Add Host and Click Ok


- Now DNS Record is created

- We can start now the VCSA Installation
- Once the ISO is downloaded, please extract

- Open VMware Workstation > Click File then Open a VM

- Now locate where is the extracted ISO ( In my example the path location is C:\Temp\VMware-VCSA-all-7.0.0-16189094\vcsa ) then Click Open

- Accept the EULA > Click Next

- Enter the VCSA name and change the storage path if desired and click Next

- Choose preferred deployment options then click next

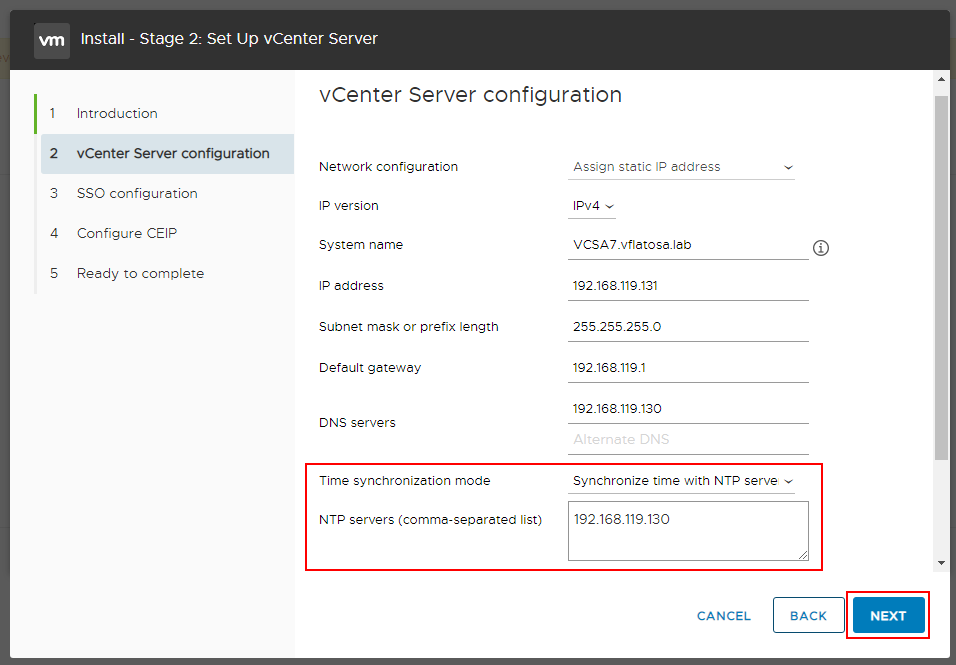
- Enter the network details of the VCSA

- Select SSO Configuration, provide the SSO password

- Select System Configuration, provide the Root password for VCSA and click Import

- Wait o complete the Import


- Now VCSA is imported

- Go to web browser, enter the IP address of VCSA and 5480 port. In my case, https://192.168.119.131:5480 and Click Set up

- Type root password then Click Login

- Stage 2 Setup will start Click Next

- Configure Time Sync, Click Next
- Login again the root credential

- Create a new SSO domain, type single sign-on domain name, a password for the administrator account and then Click Next

- If you want to join the Vmware CEIP and Click Next

- Review the settings, Click OK then Finish

- Wait the installation to completed, then close the windows (wait around 15 minutes)


- Installation/Setup is Completed, Click Close

- Access the VCSA via a web browser. The vCenter home page appears; select Launch vSphere Client (HTML5)

- Login using administrator@vsphere.local, password and then click LOGIN

- You have now successfully installed the vCenter Server Appliance in VMware Workstation 16 Pro


Comments